First... What does all of this mean?
🤨🤨🤨🤨🤨
| Definition | |
|---|---|
| Farcaster | A sufficiently decentralized social network |
| Farcaster Frame | An interactive cast on Farcaster with buttons |
| Warpcast | The most popular app used to access Farcaster |
| Figma | A webapp used to create graphic designs |
| 🚂 FrameTrain | A webapp used to create Farcaster Frames |
| Figma Template | A FrameTrain template used to create Figma Frames |
Anything your imagination can come up with, 🚂 FrameTrain allows allows you to do!
What's our goal?
What Frame are we building today, how, and why.
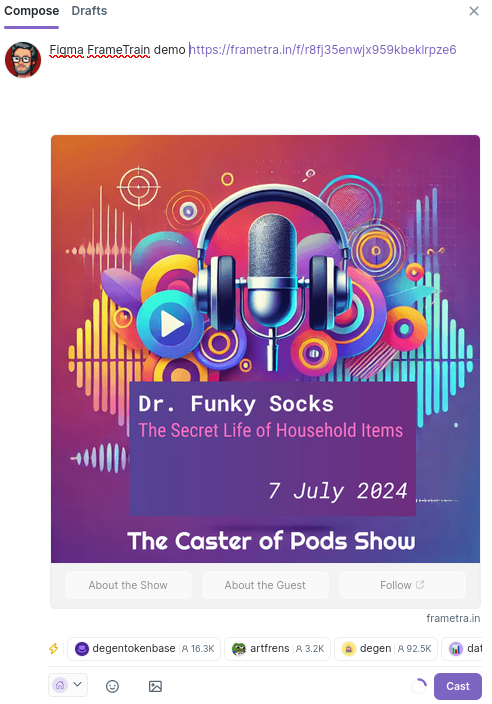
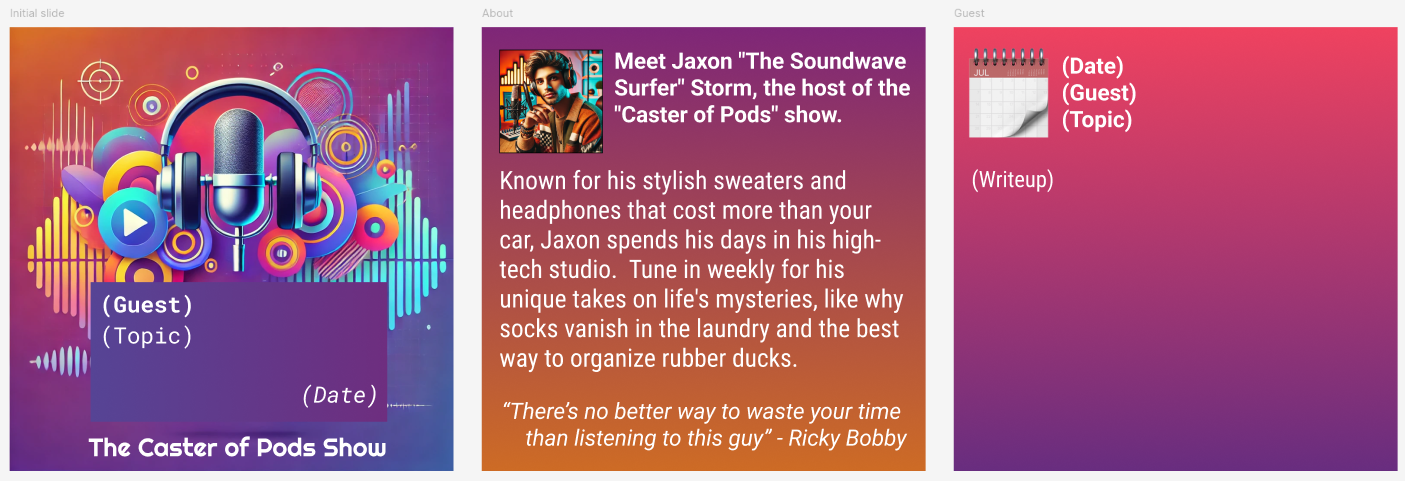
In this tutorial, we're going to take the role of Jaxon Storm. Jaxon interviews a new guest each week on his "The Caster of Pods Show" podcast and wants to cast a Frame to Warpcast for marketing purposes. He wants it to contain the following:
| Slide | Name | Content | Buttons |
|---|---|---|---|
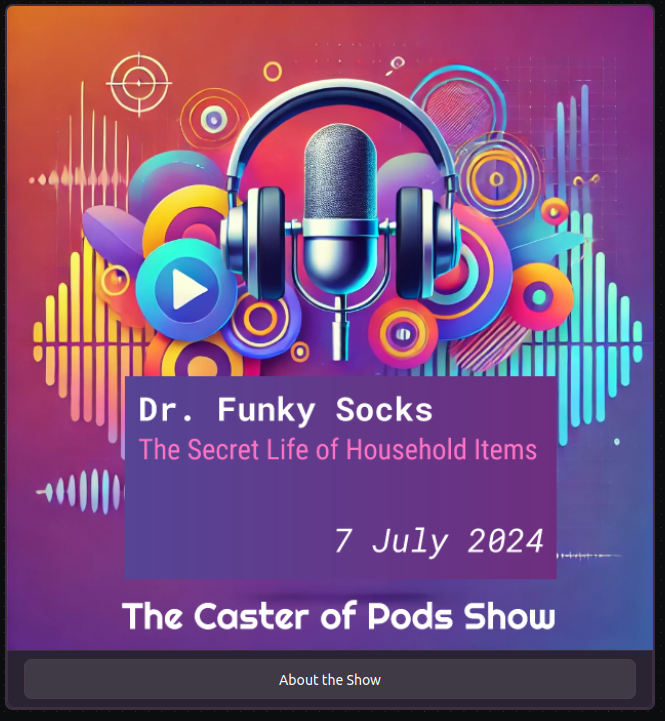
| 1 | Initial Slide | Guest, topic & date | About the Show About the Guest Open Website |
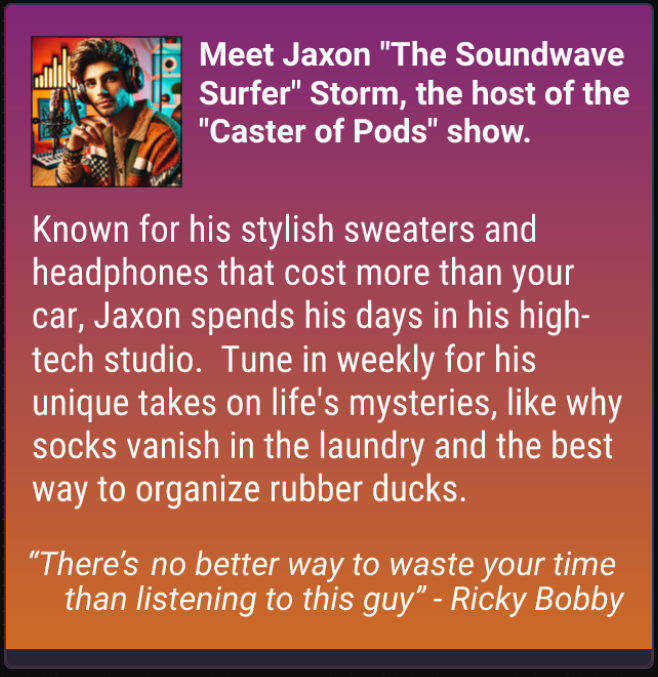
| 2 | About the Show | Short bio & photo of me | Back |
| 3 | About the Guest | Date, guest, topic & writeup | Back |
Jaxon hires a designer to create a Figma template representing the above guidelines. Because Jaxon is also a time traveler, the template is done and you can click here to access it and follow along with the tutorial.

Step 1.Generating a Figma Personal Access Token (PAT)
The Figma Template needs a Figma Personal Access Token (PAT) in order to retrieve your Figma files. You can think of this as a secret password that the FrameTrain Frames builder needs to give back to Figma to access your designs.
Don't worry, it's really easy to get one:
- Create a Figma account if you don't already have one — the free plan will work fine!
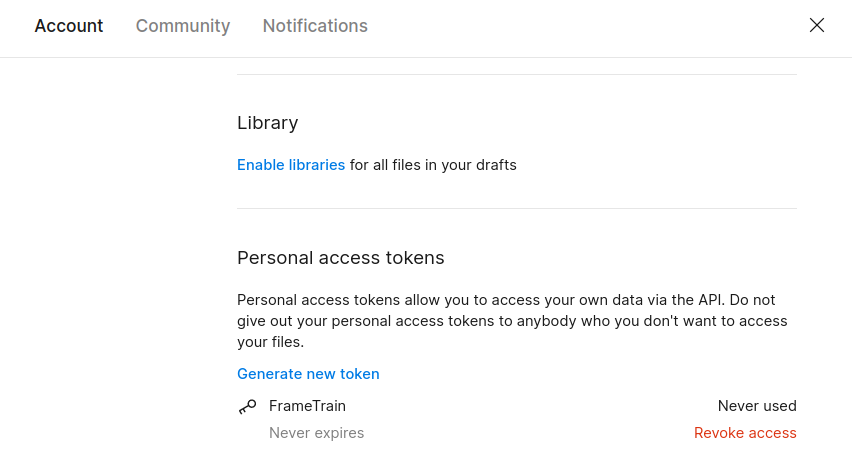
- Click on your Figma profile picture, then click "Settings"
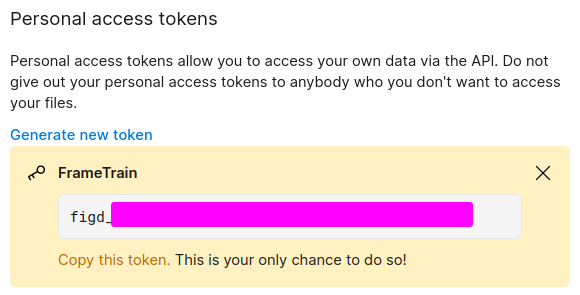
- Scroll down until you see the Personal access tokens section 👇
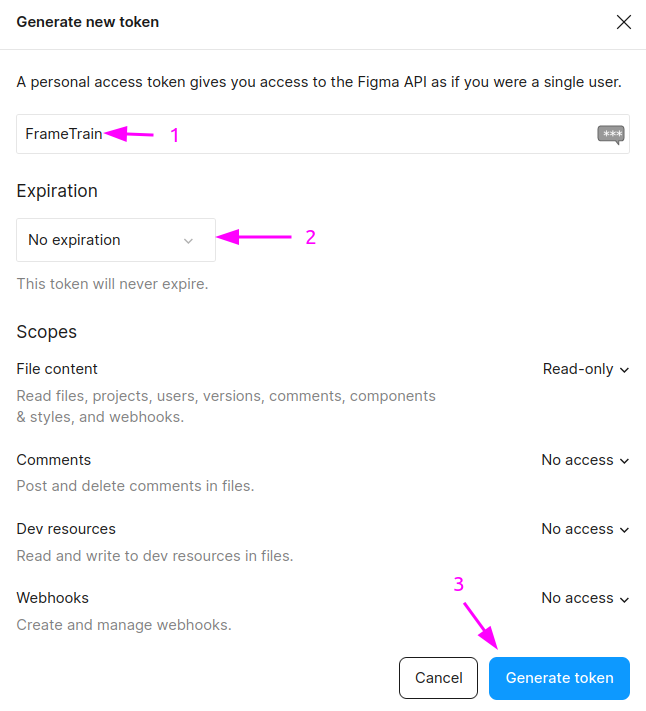
- Click "Generate new token" and fill in a name and expiry date for the token, then click "Generate token"
- Copy the token and save it in a safe place — but don't worry if you lose it, you can always generate a new token. You also don't need a new one for each Frame if you selected "No expiration" on the previous step.
Step 2.Setting up the Figma Frame on FrameTrain
- Log into FrameTrain and click on the Figma template.
- Give it a name, then paste your Figma PAT into the box and hit "Save"
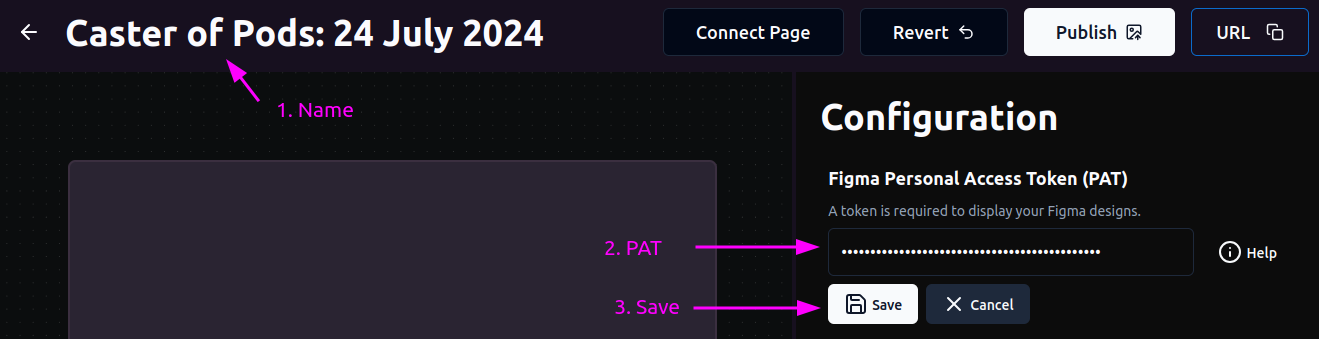
Nice, you're ready to start creating slides from your Figma artboards!
Step 3. Creating the "Initial" slide
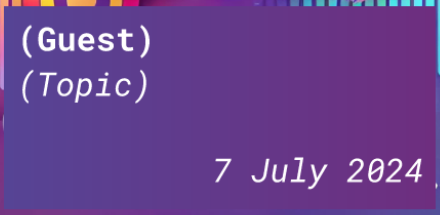
- Open up the sample file in Figma by clicking here, and you should see the following 👇
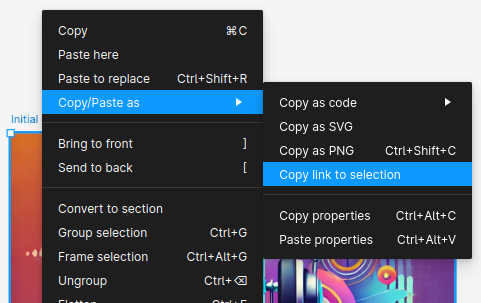
- Right click on the "Initial slide" artboard and choose "Copy link to selection"
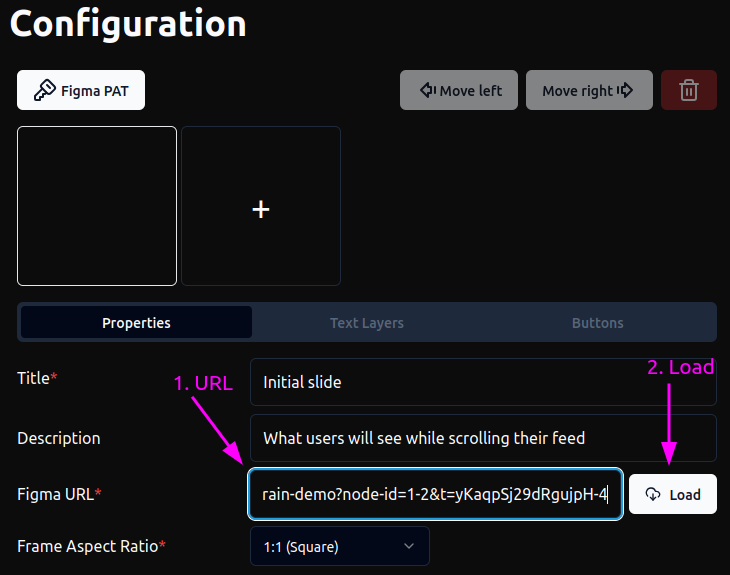
- Back in FrameTrain, paste the link into the box and click "Load"
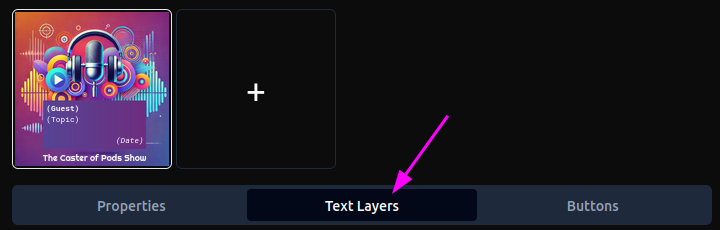
- We want to edit and customize the contents now, so switch to the "Text Layers" tab by simply tapping on it.
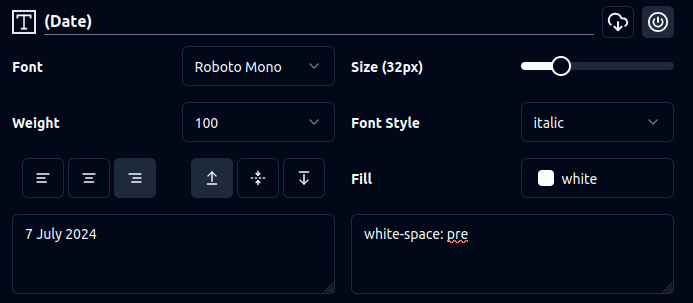
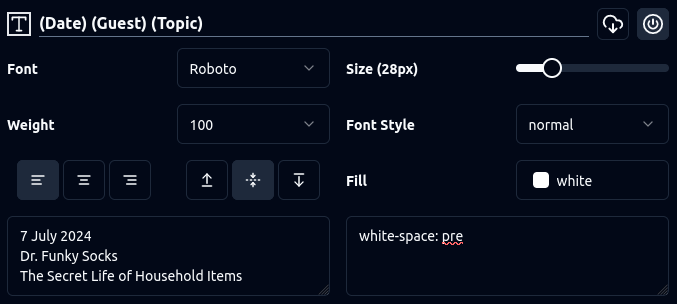
- Find the "(Date)" text layer. This layer has been created in Figma, but you can edit it right from inside FrameTrain's Frames editor!
In the bottom left side of the text box type in the date of the show and then click outside the text box to update the Frame.
- The preview will now update to show the new text.
- Use the other fields to add a Guest and Topic name and your preview should look like this:
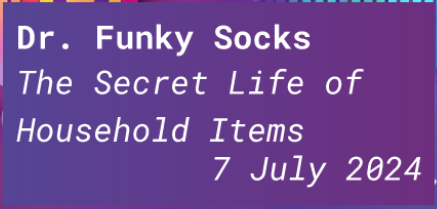
- Hmmm... Looks to me like the text is taking up too much space, no? Let's change the font and font size to something more compact.

- Don't be scared to play around with the other options!
You can change the weight of the font, the style (normal or italic), the left/center/right/top/middle/bottom alignment, and ocolor!

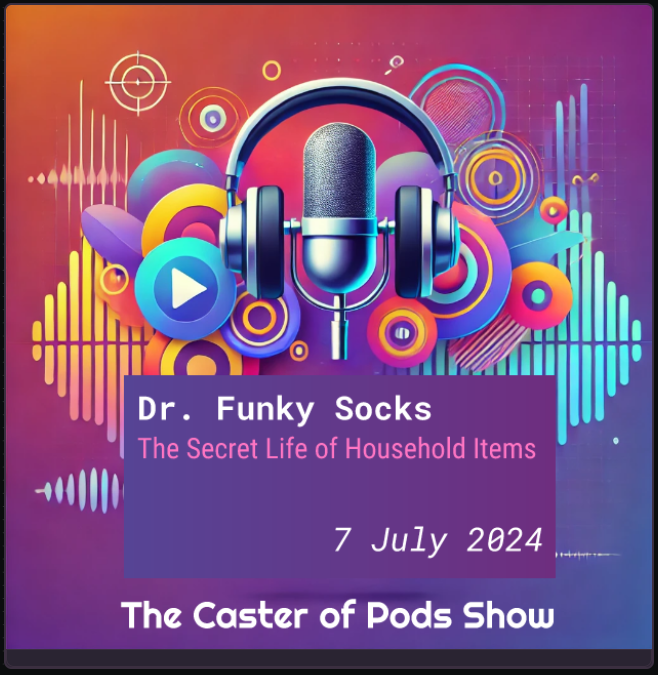
- At this point, your preview slide should look something like like this:
Step 4.Creating the "About" slide
- Go back to Figma, right click on the "About" artboard and "Copy selection as link" (see the previous section if you forgot how to do this!).
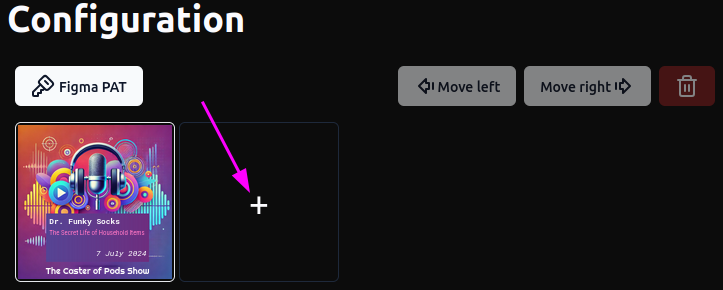
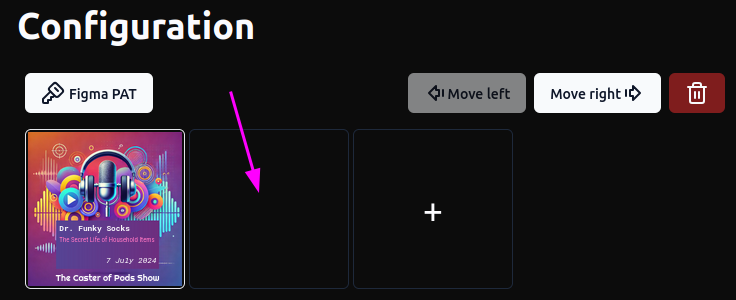
- Return to FrameTrain, and click the "Add New Slide" button, then select the new slide
- Type in a title, like "About the Show"
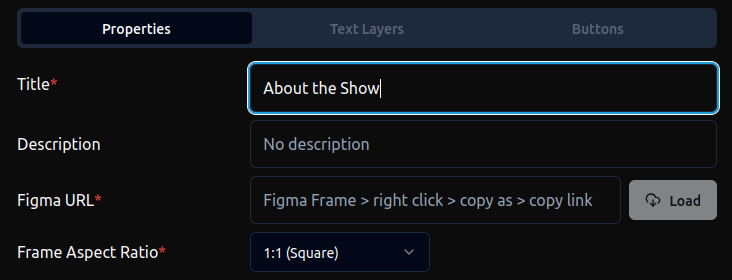
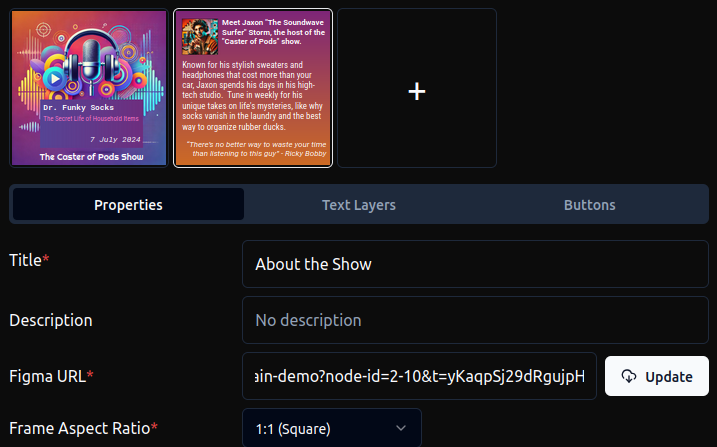
- Paste in the Figma URL and click "Load". A preview of the slide should appear if you've done everything correctly
- Select the "Initial Slide" again, and configure the first button with the Target set to "About", add a caption "About the Show", and then click the checkbox to enable the button:
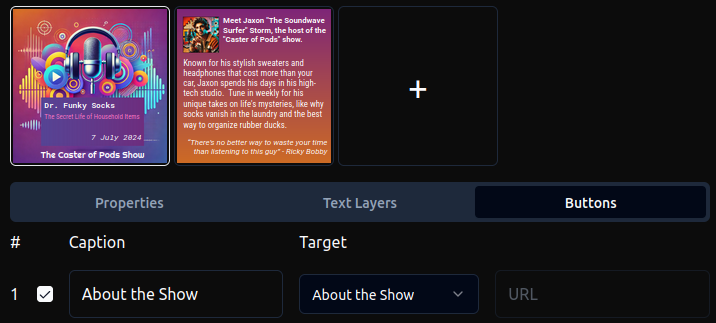
- Take a look at the Frame preview on the left and you should now see an "About the Show" button appear:
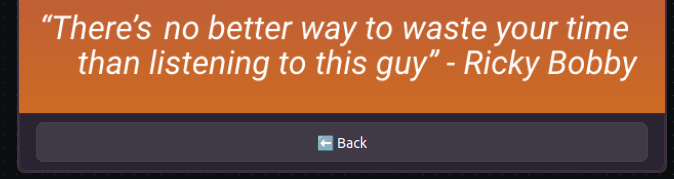
- Test the button by clicking it, and you should see the following:
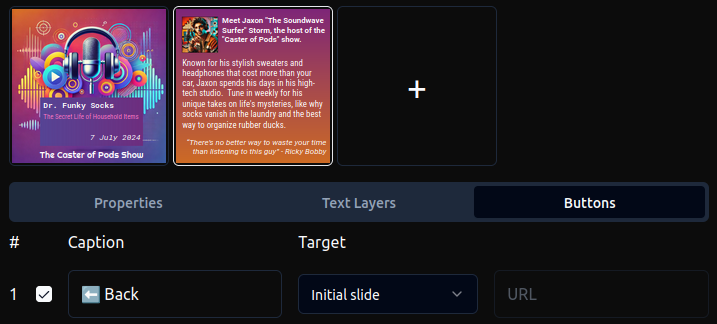
- Congrats! But there's just a small problem... you're stuck here and can't get back to the initial slide! Select the "About the Show" button, then add a button to fix this:
- Now the Frame preview should look like this:
Step 5.Create the "Guest" slide
- Go to Figma, right click on the "Guest" artboard and click "Copy selection as link" (you should've gotten the hang of it by now, if not see the first section above!).
- Return to FrameTrain, add a new slide, and name it "About the Guest".
- Paste the Figma URL and click "Load".
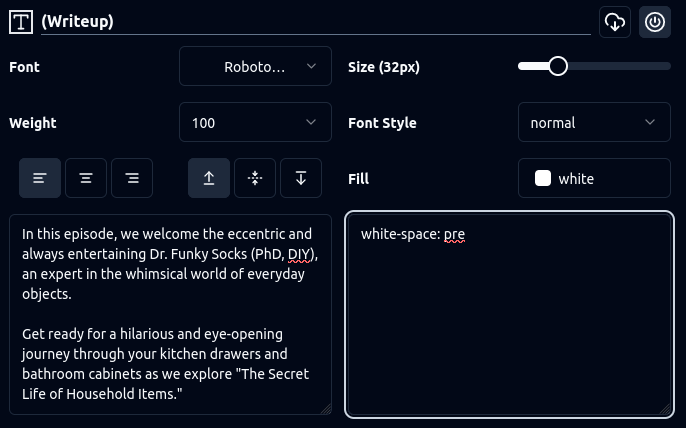
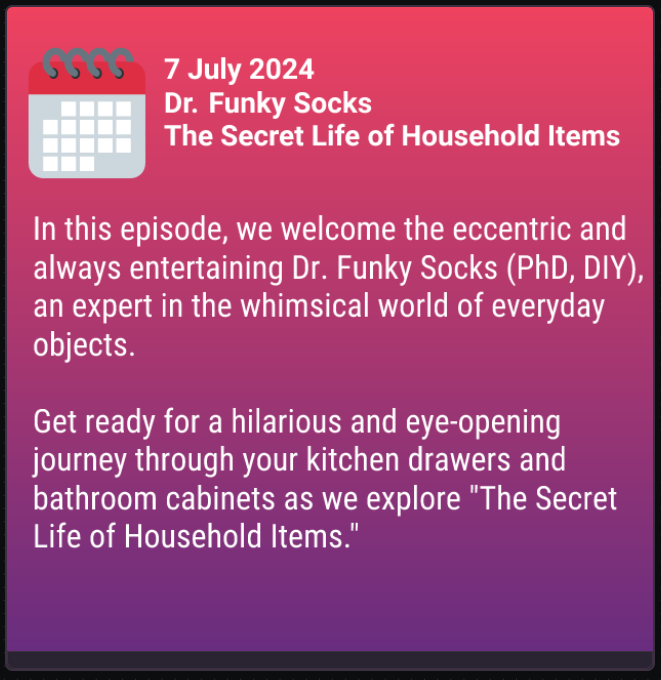
- Go to the "Text Layers" tab and populate the various layers with whatever Guest details you like.
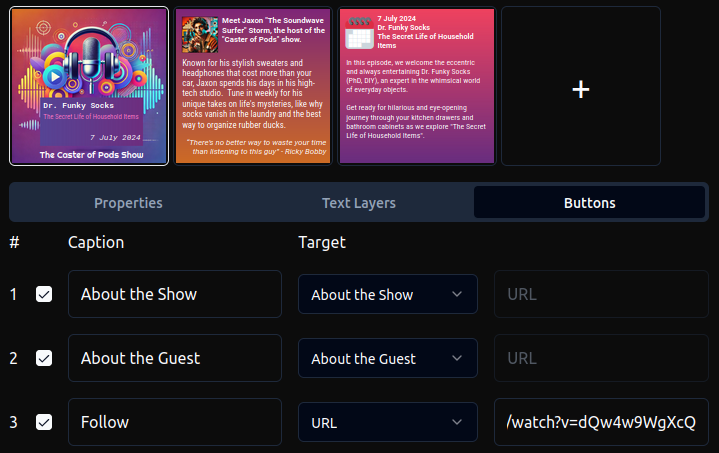
- Select the "Initial slide" again and add a new button pointing to the "Guest" slide, as well as a "Follow" button that goes to a URL of your choice:.
- The preview should now look like this 👇

- Click the "About the Guest" button and what do we see?
Ooops! Looks like we need a "Back" button. Can you try adding this one yourself?
Step 6.Publishing, Testing and Casting!
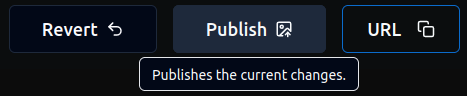
- Click the "Publish" button on the top right.
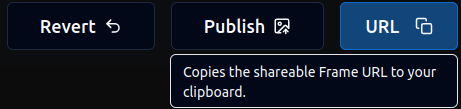
- Now click the "URL" button right next to it. The link to your newly created Frame has been copied to the clipboard. You can now paste it anywhere you want.
- Go to the Warpcast Frames testing tool and paste in your URL, then click the refresh button.
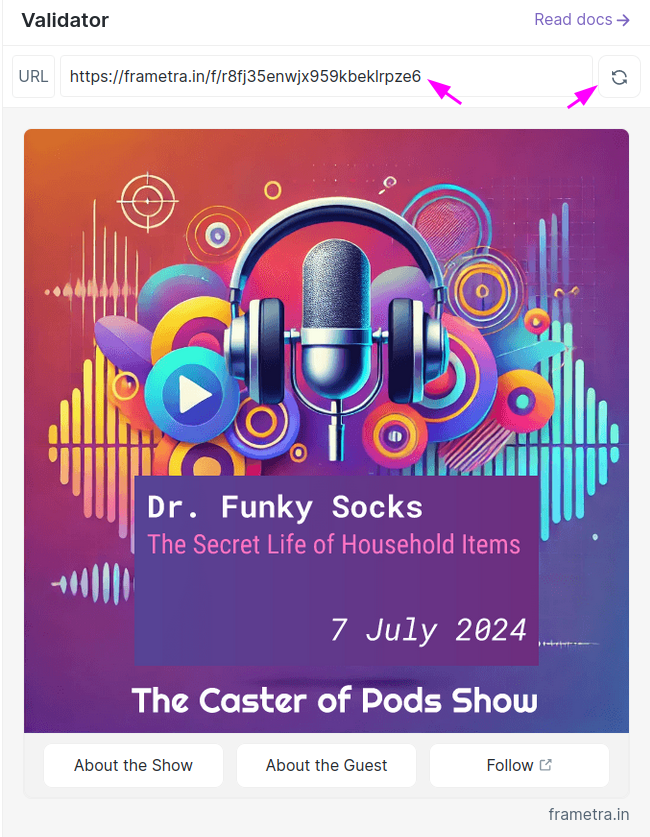
- Test out your Frame — if there are issues, go back to FrameTrain and make your changes, then click "Publish" again.
- Go to Warpcast (or any other Farcaster client such as Supercast or Herocast), compose a cast and paste in the URL.